Making a $2 BadUSB (USB Rubber Ducky)

What is a BadUSB?
A BadUSB is a USB device that acts as a keyboard and injects preprogrammed keystrokes into a computer. A BadUSB is Indistinguishable from a generic keyboard, making it near impossible to detect and patch. You can setup reverse shells, change the desktop background or change settings. The opportunities are limitless.
What do you need?
Depending on where you get a BadUSB from; you can expect a range of prices between $2 to $45.
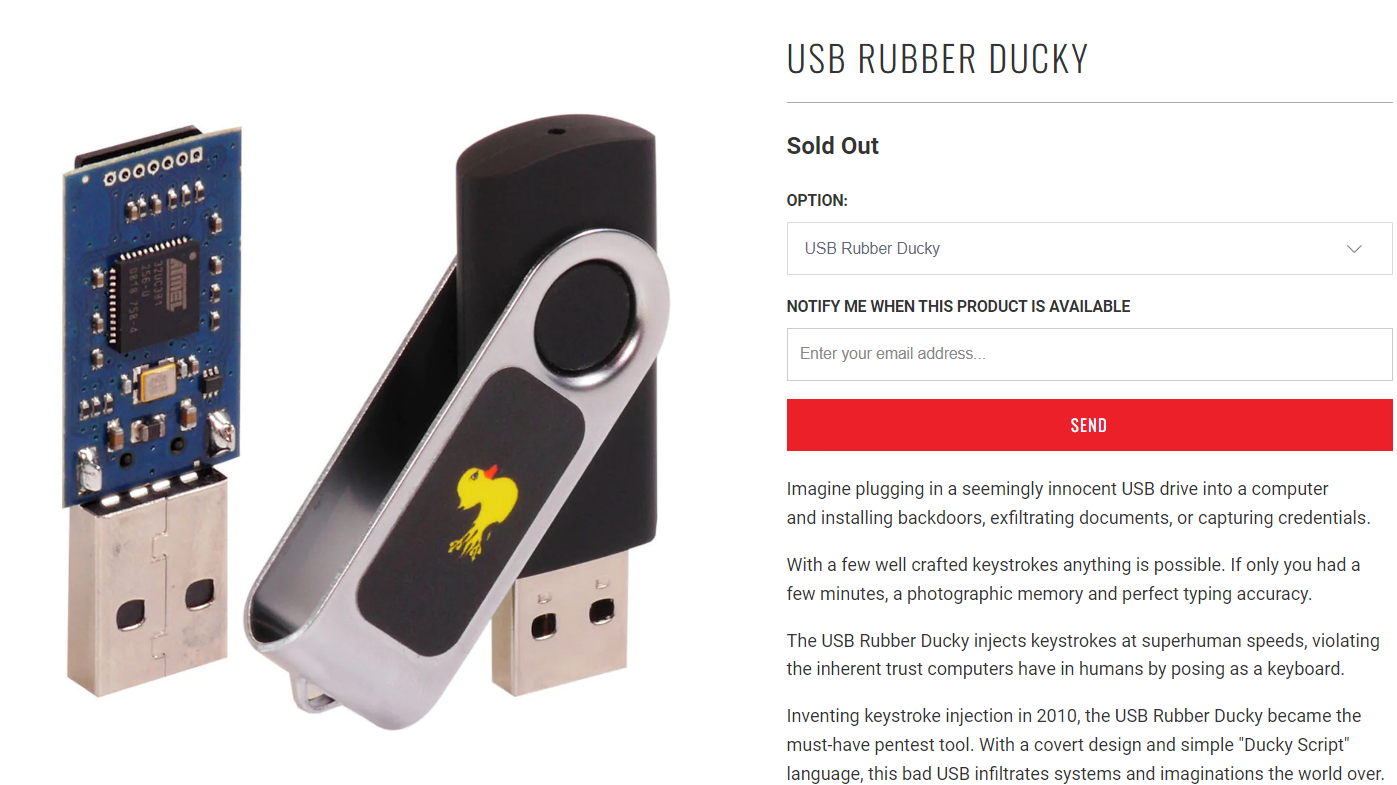
The Hak5 USB Rubber Ducky costs around $45.
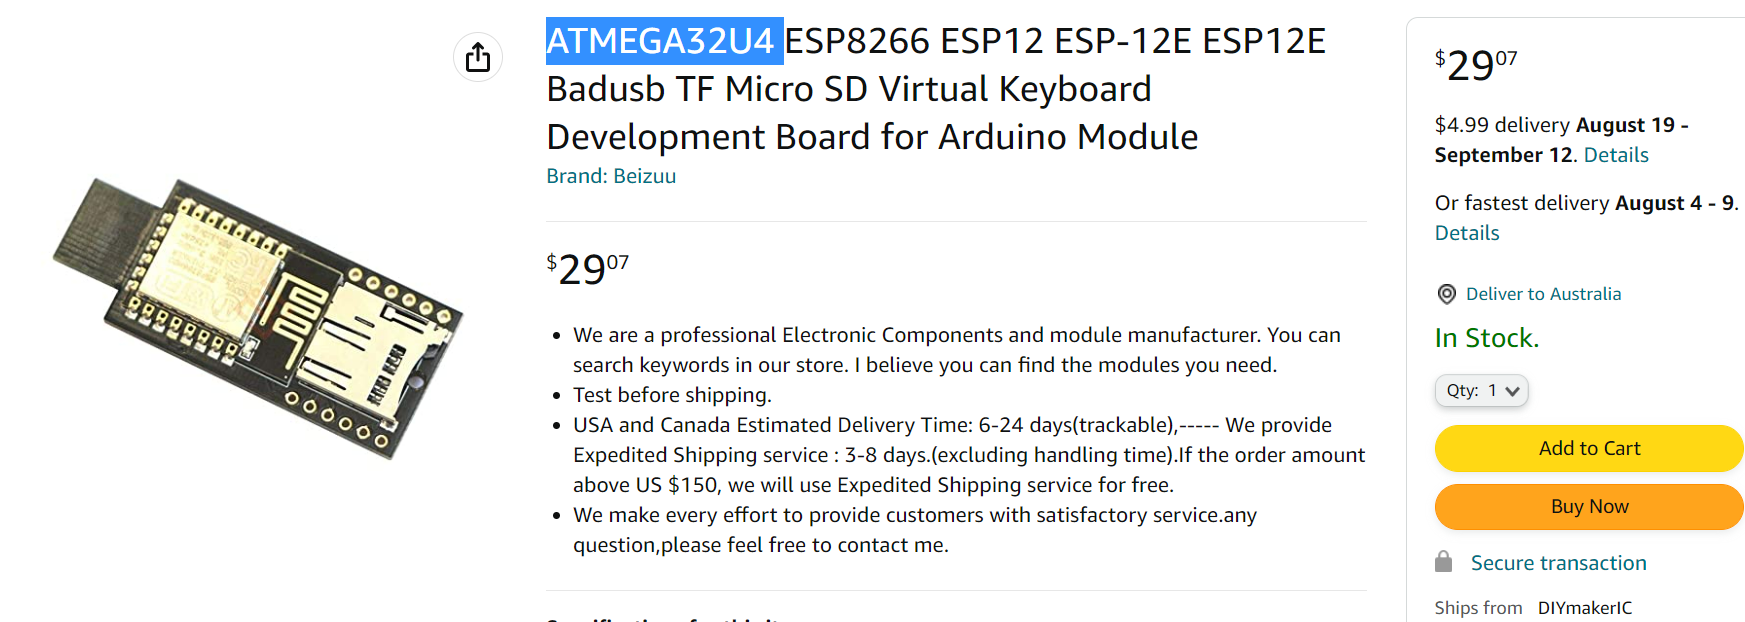
Where are ATMEGA32U4 cost around $30 from Amazon.
 If you get an ATTINY85 Arduino board you can expect around $2-10. This board is the one I recommend for beginners. You can get it anywhere from platforms like eBay, Alibaba or AliExpress. One thing to note about this board is that it has a 5-second delay before inputting keystrokes. This is due to it checking if it needs to be written to.

This tutorial is for an ATTINY85. This is due to its cheapness and availability. You will need the following:
- Arduino ATTINY85
- Arduino IDE
- 20 minutes of free time
Tutorial
1. Install the Arduino IDE
Download and install the Arduino IDE.
2. Install the Digispark drivers
You are required to download Digispark drivers if your Arduino version is Arduino 1.6.6 or higher.
Unzip and install the file DPInst64.exe
3. Add the Digispark Board Support Package
Open up the Arduino IDE
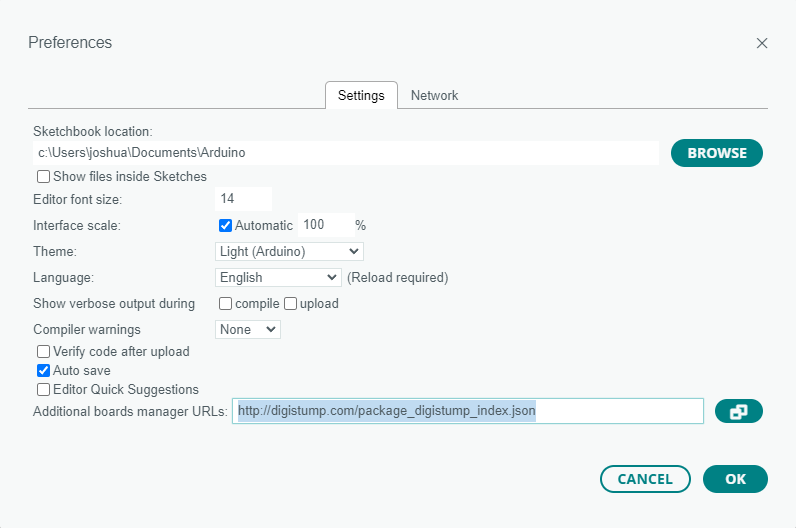
Open up Files ---> Preferences
Add the below text to the "Additional Boards Managers URLs:"
http://digistump.com/package_digistump_index.json
4. Add the Digispark Board
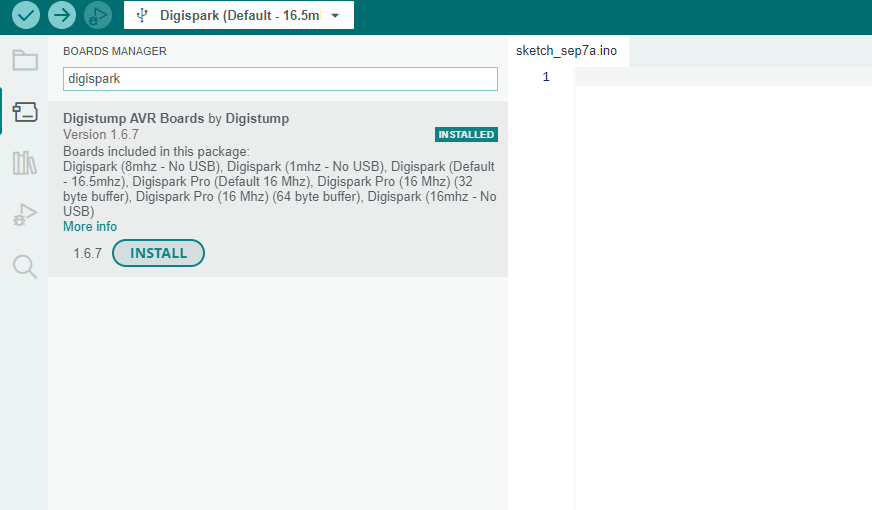
Open up Tools ---> Board ---> Board Manager
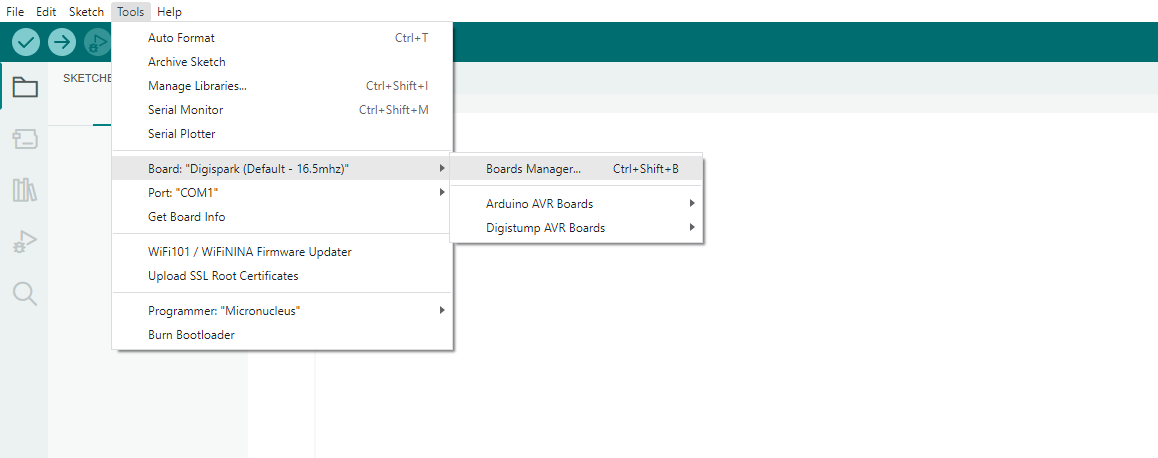
Search up Digispark and click on the install button.
5. Create scripts
If you don't want to create any of your own scripts, their is a whole github reposistory dedicated to premade scripts. You can find it here.
If you want to create an scripts, I recommend using Ducky Script and then converting it to Arduino code using d4n5h's Ducky to Arduino converter. It is far simpler then writing it directly in Arduino code. You can find the syntax of Ducky script here.
Below is an example of converting Ducky Script to Arduino code.
Note: There is a problem with the converter where DigiKeyboard.sendKeyStroke(0, MOD_GUI_LEFT, KEY_R); should be DigiKeyboard.sendKeyStroke(MOD_GUI_LEFT, KEY_R)
6. Upload your script
Click on the upload button.
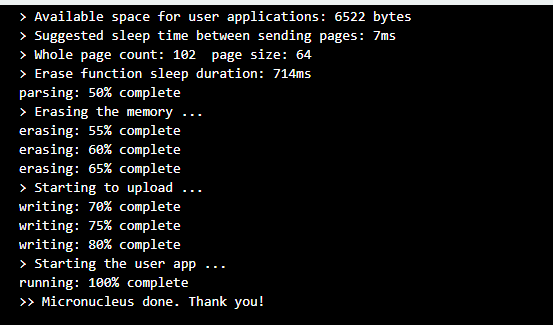
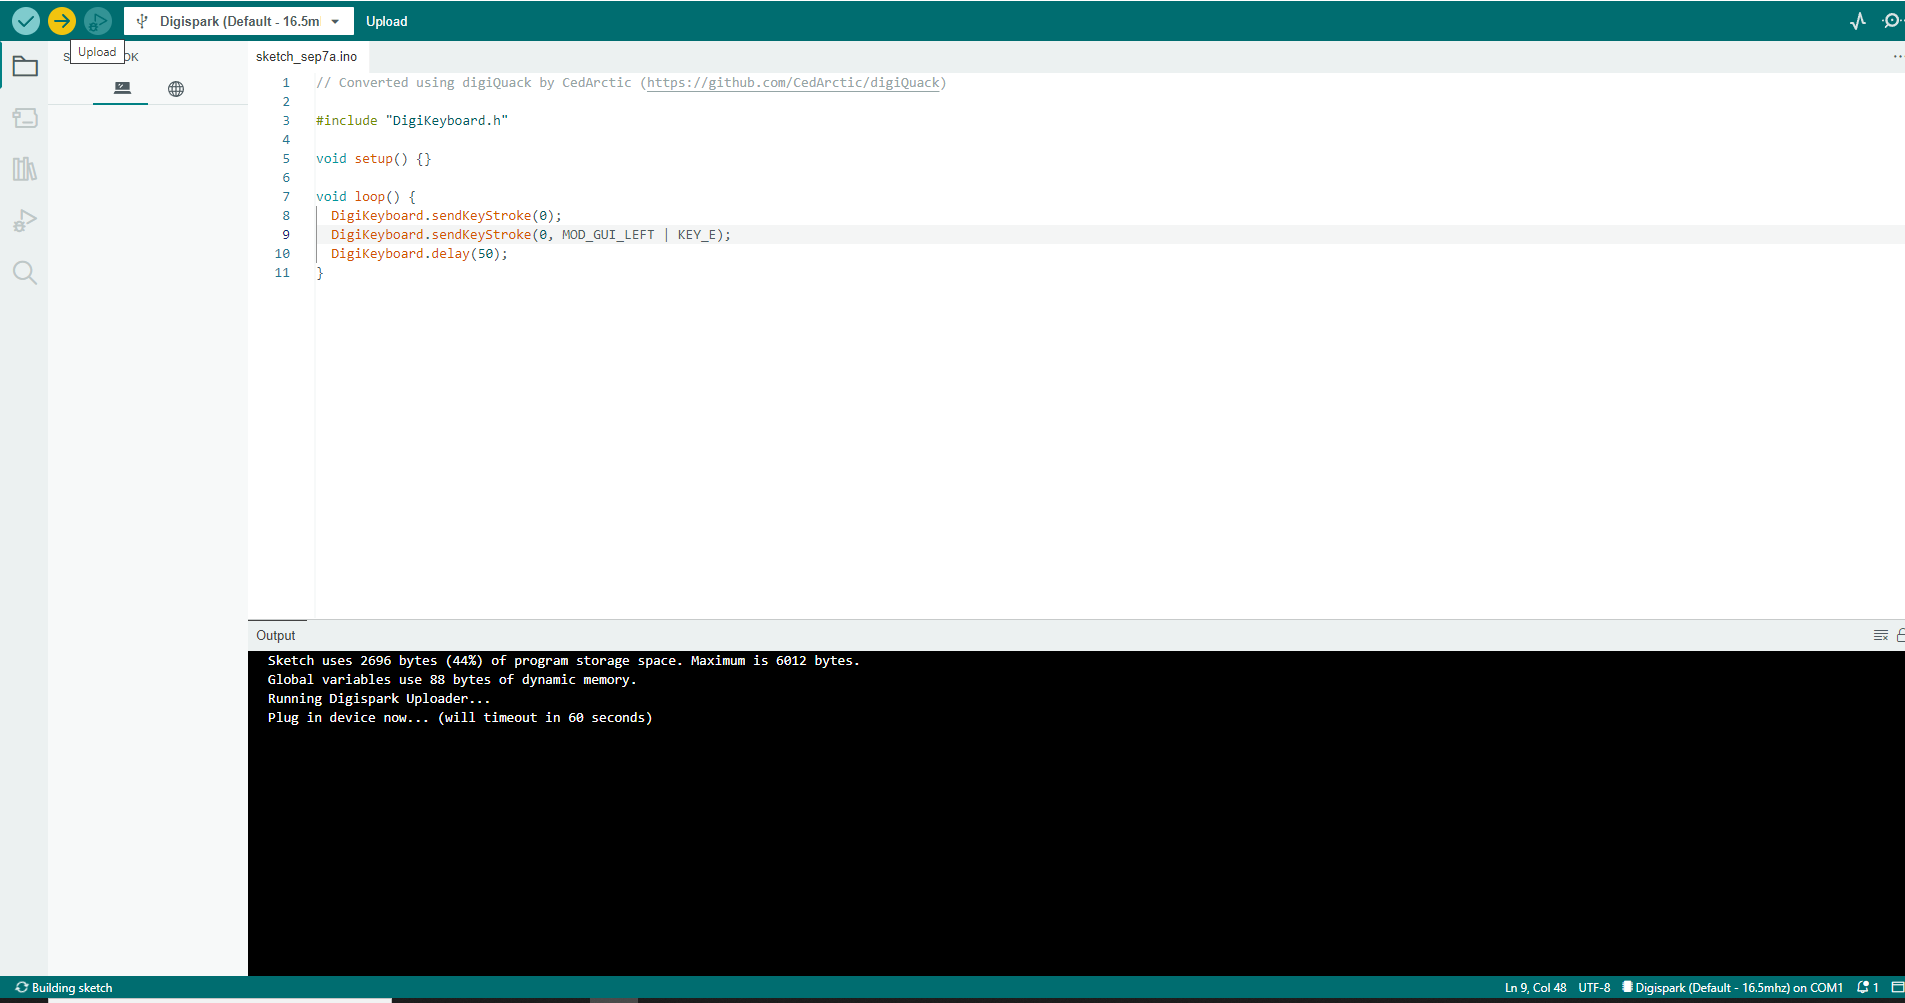 When the console says "plug in the device now", insert your ATTINY85 into your USB port.
Ending Notes
I hope you enjoyed this article about the ATTINY85. If you have any questions you can always leave a comment below or feel free to reach out to me on Twitter at @dingo418.
Sources
$1 BadUSB - DigiSpark Drive By HID Tutorial
Run USB Rubber Ducky Scripts on a Super Inexpensive Digispark Board