How to make a quick and free web proxy server using Heroku

Notes
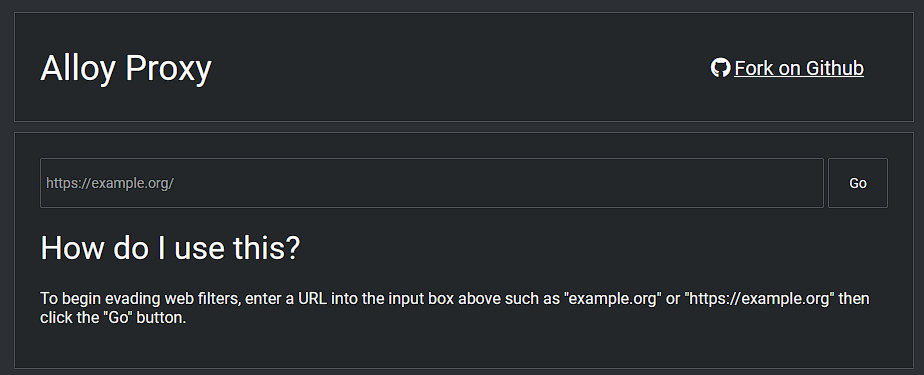
In this tutorial, I am going to be making a simple free web proxy using Heroku. The proxy can be used to combat web filtering and can bypass blocked websites. The web proxy I will be using is Alloy. I chose Alloy as it is pretty simple and just works, even if it is a bit out of date.
Creating a Heroku account.
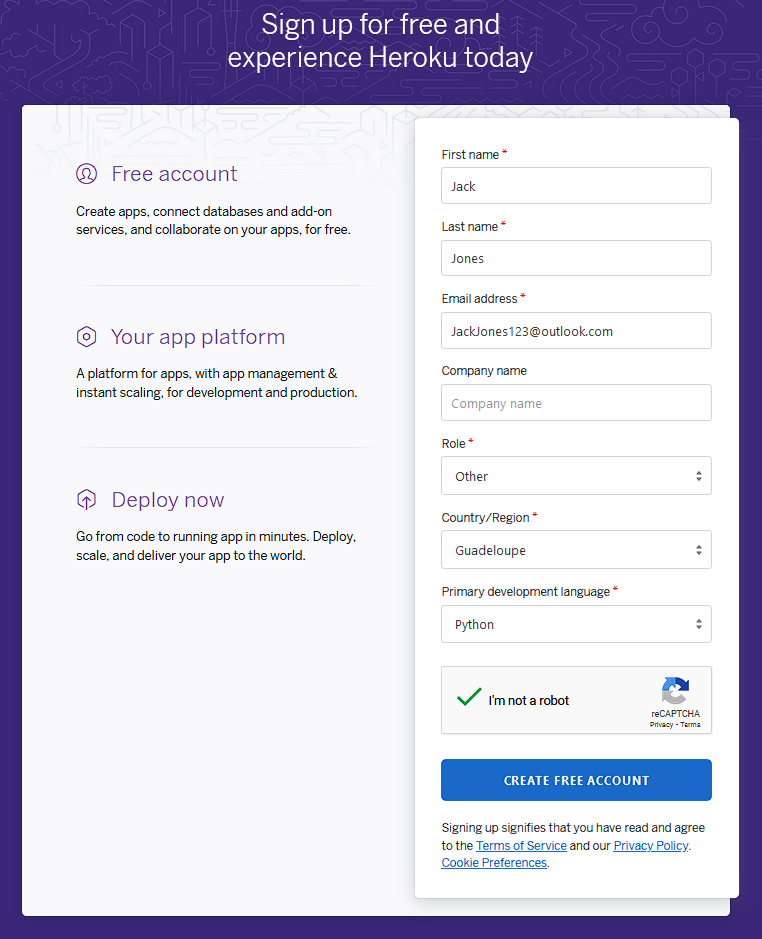
To get free web hosting you can use many different services but the one that I found to work the best was Heroku. You can create a account at https://signup.heroku.com/. Their is email verification to make a Heroku account. If you want this to be completely anonymous creating this proxy use a VPN to access the site and you can generally use a junk email to sign in. Sadly, you can't use popular sites like temp-mail as they block a lot of junk email domains, the next best thing that I have found is an outlook email account as you don't need any prior emails or phone number.
Getting the template for the proxy server
Once you finish your account signup and accept the terms and condition, you will need to use a premade template. You will be unable to use the original git repository of alloy as Heroku has blocked the template. One option is to make your own fork. If you are making your own fork, you need to rename the repository after you have forked it. Another option is to get the fork off my git repo. Click on the button below to get directed to the template for the web proxy server.

Using the template
Now all you need to do is give this project a discrete name, as it will be featured in the URL, and click "Deploy app". After it has made your web server, click on "view".
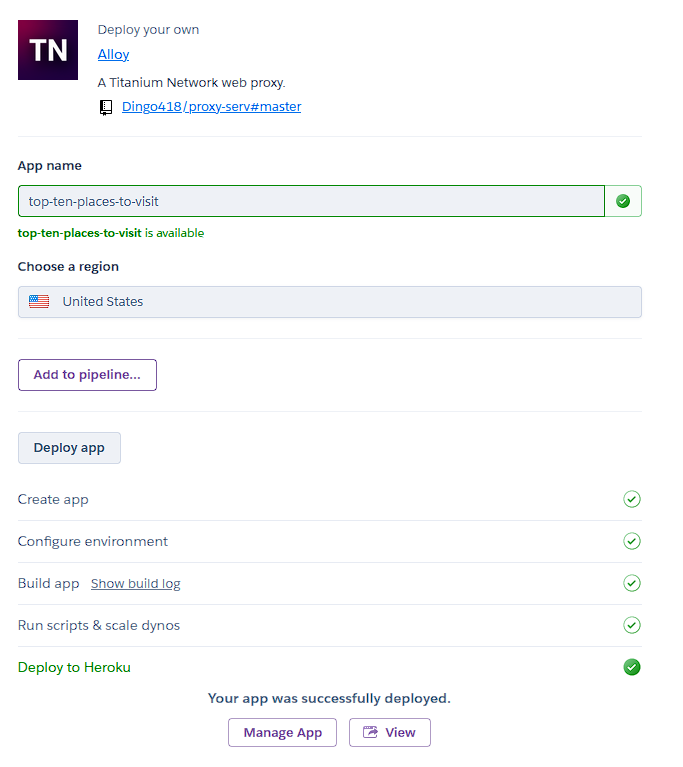
You have now made a full web proxy server and all you have to do is enter in your desired website.